How to set up your AirPort Base Station and Guest Network on Mac

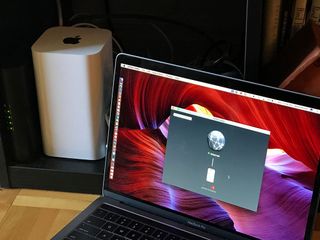
Need to setup a secure no-nonsense Wi-Fi Access point? Apple has you covered. Depending on your level of computer Gung-Fu, setting up a Wi-Fi access point with proper security might seem a little intimidating. Thankfully, Apple's Airport Base Stations can take some of the edge off, thanks to the built-in AirPort Utility.
How to set up your AirPort router
- Plug your Airport Base Station into a power outlet.
- Connect the modem provided by your Internet Service Provider (ISP) to your AirPort Extreme using an Ethernet cable. Use the- wire to the bottom-most port on the back of the AirPort Base Station. (Don't worry if you make a mistake. You'll be prompted to fix things, if needed, during set up).
- Launch AirPort Utility on your Mac.
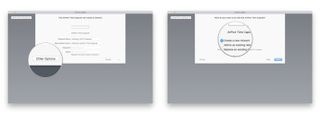
- Click on Other WiFi Devices in the upper right corner.

- Click Other Options to setup the AirPort for additional capabilities.
- Select Create a new network
- Click Next.

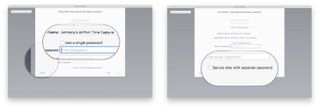
- Enter a Network Name and a Base Station Name. (You can leave them as is or change them to whatever you prefer.)
- Enter your preferred Password. You can choose to have one password for both your Wi-Fi network and to configure the AirPort itself by checking Use a single password. (I recommend you have separate passwords for added security.)
- If you purchased a Base Station with an internal hard drive — i.e., a Time Capsule — you can also choose a separate password for that by checking "Secure disk with separate password".
- Click Next.

- If your Airport has the option for Enabling a Guest Network you can enable that option here (see below, start at step 5)
- Click Next.
- Click Done.

How to create a guest network on your AirPort Base Station
If you have frequent visitors and don't fancy the idea of giving them your AirPort password, you can create a Guest Network for them to connect you. This gives your friends, family, and associates a working Wi-Fi connection but also gives you some security.
- Launch AirPort Utility on your Mac.
- Click on your Base Station at the bottom.
- Click on Edit.
- Click on the **Wireless* tab at the top.
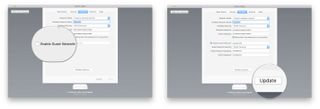
- Check Enable Guest Network.
- Enter a new Network Name. The guest network name should be something easy to discern from your regular "secured" network.
- Select your desired level of Guest Network Security. Choose None if you want it completely open, WPA2 if you want it secure.
- If you have decided to have WPA2 Personal as your security level, enter your Guest Network Password and verify it.
- Click Update
- Restart your Base Station.

If you wish to protect your network from general access WPA2 Personal offers a good level of encrypted connectivity. You may want to provide an open access point if you want people to connect to your network without a password. You can select None to do just that. You should avoid WPA as that encryption level is easily compromised.
Any questions setting up your AirPort Base Station?
Your AirPort Base Station will reboot and you can then start connecting your various Wi-Fi capable devices to your new access point. Depending on your requirements, you may be satisfied with the network coverage your single Airport provides you. However, if you require better coverage or own a multi-storey dwelling, you may need to extend your network by installing additional access points in a configuration called bridged mode. Stay tuned for our article on how to do just that. If you have any comments or questions about setting up your AirPort Base Station leave them in the comments below!
Master your iPhone in minutes
iMore offers spot-on advice and guidance from our team of experts, with decades of Apple device experience to lean on. Learn more with iMore!
Most Popular


