
There's nothing quite like that quick unboxing of a new gadget. You fly through the plastic and discard all of the excess paper and cardboard, doing everything you can to get from the box to playing that first game. For some Nintendo Switch owners, that means grabbing your handy new Joy-Cons and connecting the special backplates designed for two-player mode.
If you're like me, you noticed things didn't look quite right after sliding that backplate on. What's worse, the backplate feels like it has been jammed into place and won't come off. Don't worry, the fix is fairly simple!

As you can see, things don't line up just right on this Joy-Con. The buttons don't do anything in this configuration, and it's a little awkward to hold. You need to remove the backplate and slide it onto the controller the other way. To do this, pull that little white tab at the end of the backplate until you feel a little pop. That locking pin snaps into place to keep the controller secure, so it needs to be in the unlocked position.
Now, all you need to do it pull. It's stuck, so you're going to need to pull a little harder than it feels like you should. As long as that locking pin isn't in the way, the backplate will slide off without damaging either part of the controller.

If you are still having trouble getting the backplate to slide out, there is one more thing to try. If you look under the backplate where it meets the Joy-Con under the previously mentioned white tab, you will see two little black spring-loaded tabs. These little black tabs help to keep the backplate locked in place. You can take something small and flat like a screwdriver and push these tabs in. Hopefully, this will make things a little easier for you while you slide the backplate off of the Joy-Con.
Now, here's how to put it on the right way every time!
Start by taking a look at the two halves of your left Joy-Con. You'll see a set of arrows on one half, pointing away from the controller. This indicates the direction you need to slide the backplate, starting at the other side and sliding down to those arrows. You'll feel the locking pin snap into place like before, but there's going to be a huge difference in how the Joy-Con looks and feels. The buttons at the top will click and offer more give, and everything will line up like it should.
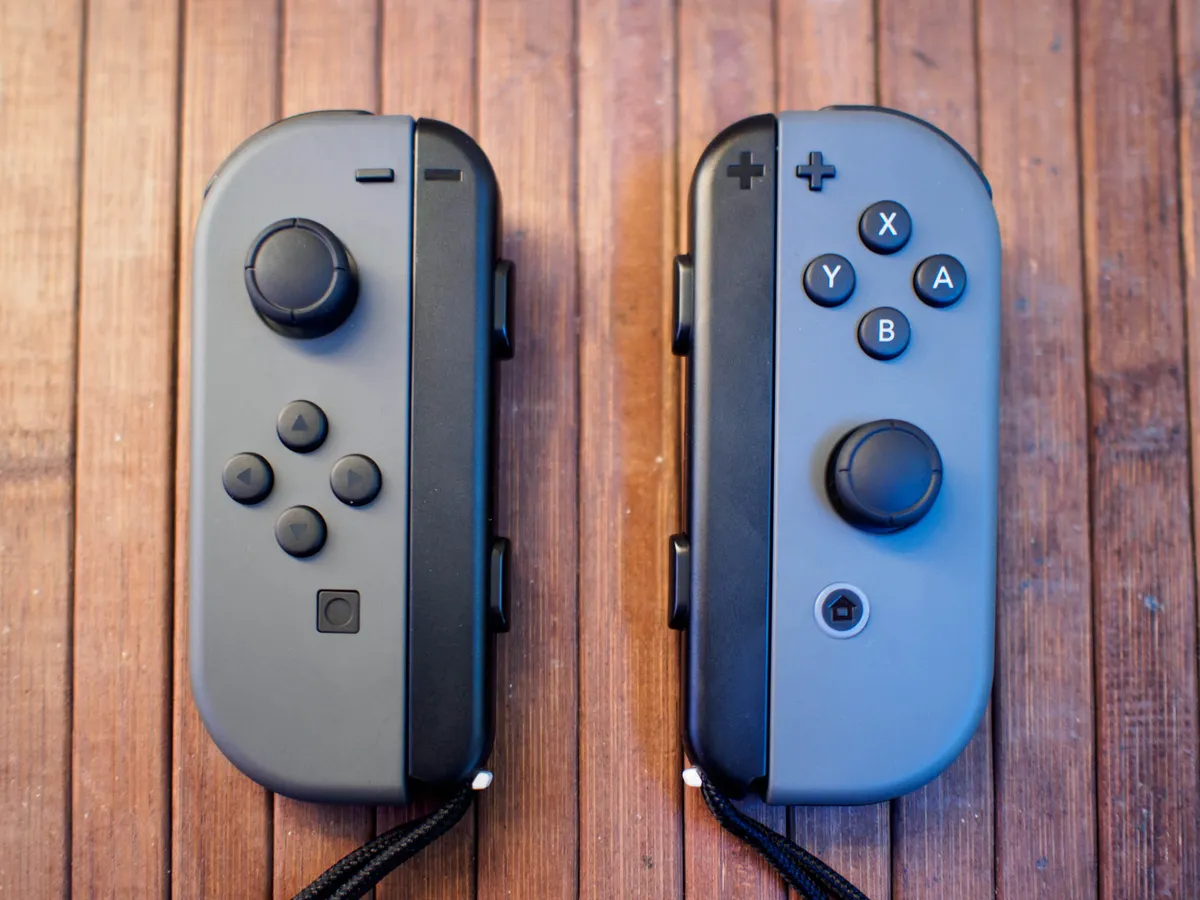
There's one more big thing that lets you know the backplate has been installed correctly. The minus symbols on the two parts of the left Joy-Con will line up, and the two plus symbols on the right Joy-Con will like up. With these symbols sitting side by side, you know you are ready to game and won't have to worry about the backplate being jammed.
The coolest part of this design is not having to worry about matching the right backplate to the right Joy-Con every time you want to play. Every backplate will work with every Joy-Con, because the backplates are reversible. It's unlikely you'll need to worry about these two parts being accidentally jammed together very often, but now you have everything you need to fix it!
Updated June 2018: Added more tips on freeing up your stuck backplate.


Want better iPhone photo quality without taking up lots of storage? You’re not using your 48MP camera properly unless you use this HEIF Max tip

2024 "might be a turning point for Apple" — suppliers look elsewhere as Apple faces "frightening" question with no clear answer

Apple's entire M4 Mac lineup just leaked — here's where Apple is taking computing next


